
Gaining access to the Demo environment
Browse to https://demo.itad-easy.online
If this is the first time you access the ITAD-Easy page, you will get two popups regarding Permissions
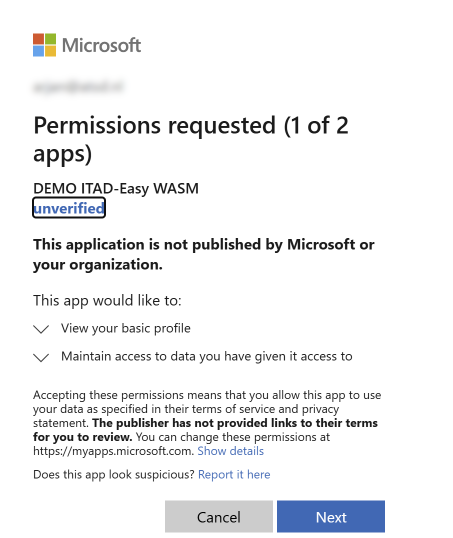
Click Accept
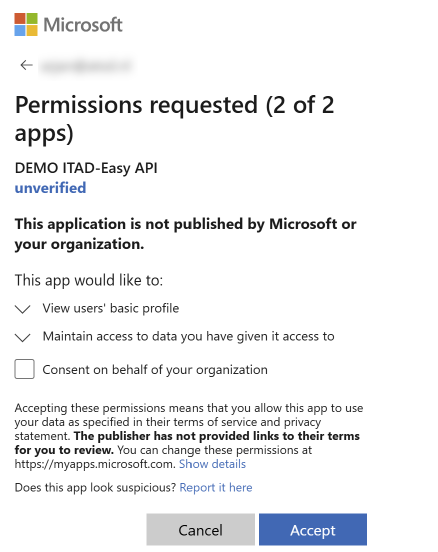
If you are Administrator for your Tenant, you can grant consent for your entire organization. To do so, tick Consent on behalf of your organization.
Click Accept
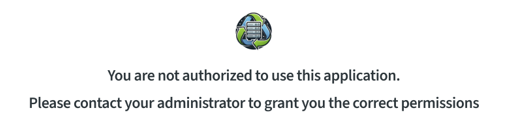
The ITAD-Easy application is now loaded in your Entra environment, but you must define the access granted to it. Until that is done, your users will receive a message that they are not authorized to access the ITAD-Easy application.
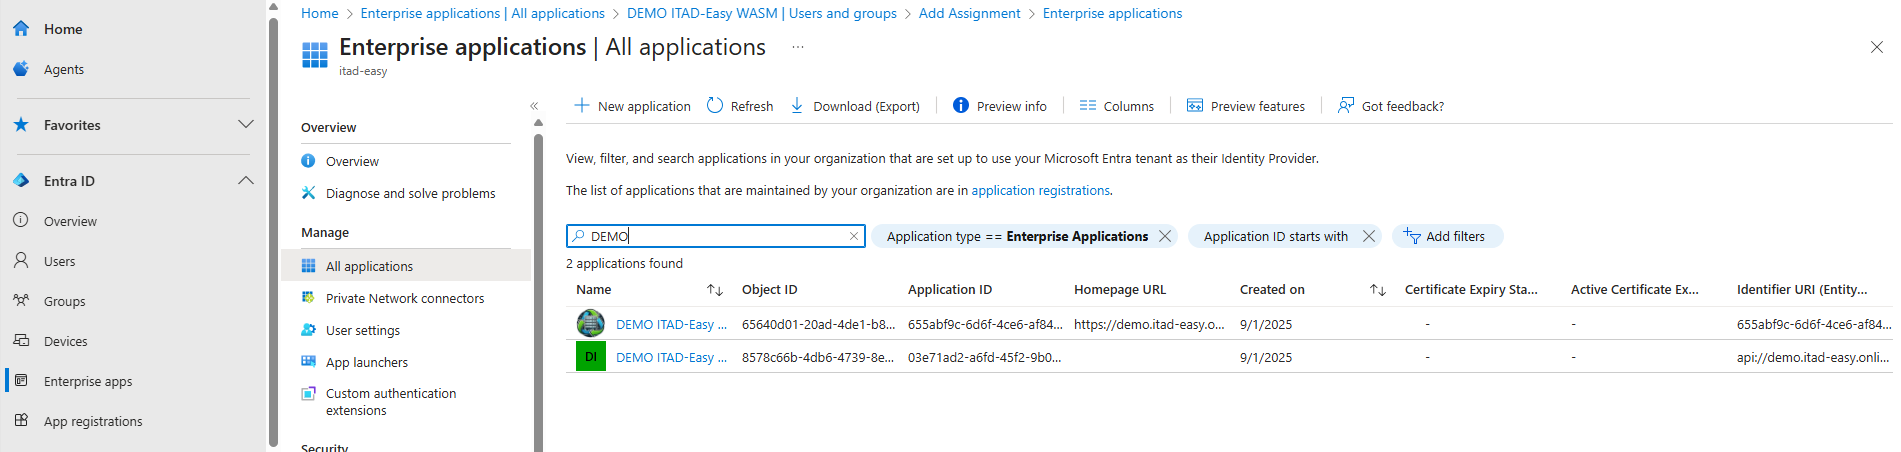
To grant access to users within your organization, browse to https://entra.microsoft.com/ and logon to your Microsoft Entra environment.
Click on Enterprise Apps and then on All Applications. There you will see that two ITAD-Easy applications have been added. (filter on Demo)
Now you can grant your users access to ITAD-Easy.
Click on
DEMO ITAD-Easy-WASM
and then on
Users and Groups
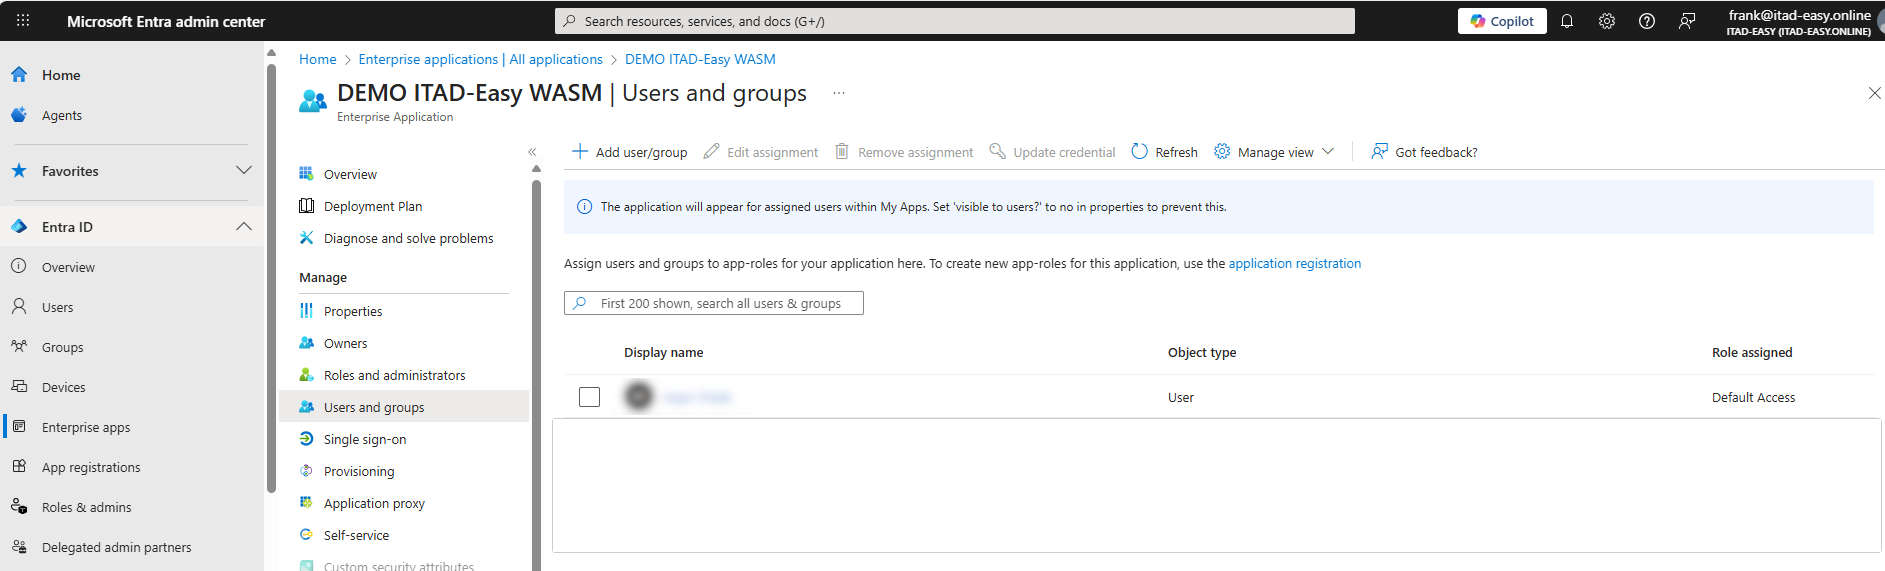
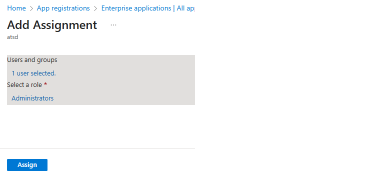
Click on Add user/group
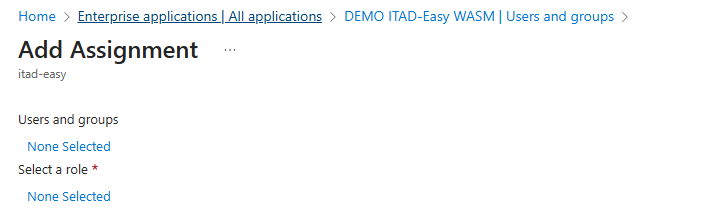
Click on the link below Users and group and select the user(s) you want to grant access.
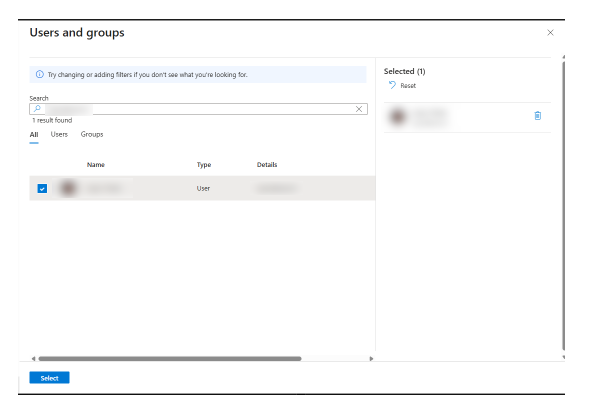
Tick the tickbox in front of the desired user(s) and click Select
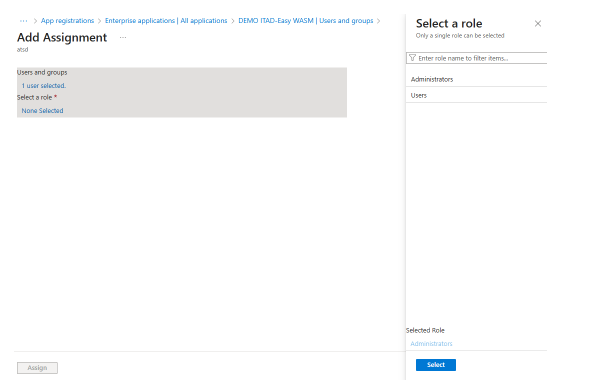
Click on the link below Select a role
Select Administrator or User. Administrators will automatically get the Administrator role in ITAD-Easy. For users in the User role, you will need to define the ITAD-Easy role.
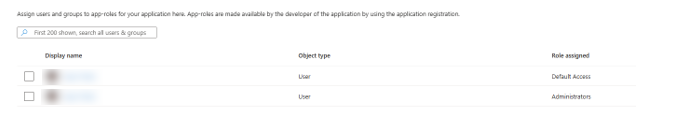
The Microsoft Entra part of the authorization is now all done